This is the guest post that showed on Whip up.
History: It is believed that the earliest crocheted projects in the past were finger-crocheted and evolving from traditional practices in Arabia, South America and China. In Europe it gains popularity in the 19th century.
Crochet (meaning “hook” in French) consists of a series of interlocking and pulling loops of thread through other loops and incorporates wrapping the thread (called stitches) around the hook one or more times to create various intricate and highly detailed patterns. Various stitches and patterns can be created. Some of the more common stitches known are: Chain, Slip Stitch, Single Crochet, Half-Double Crochet, Double/Treble Crochet, Popcorn Crochet, Cluster Crochet, etc.
In the past crochet was used for decoration of the home and the clothes with which they gained a more luxurious look.
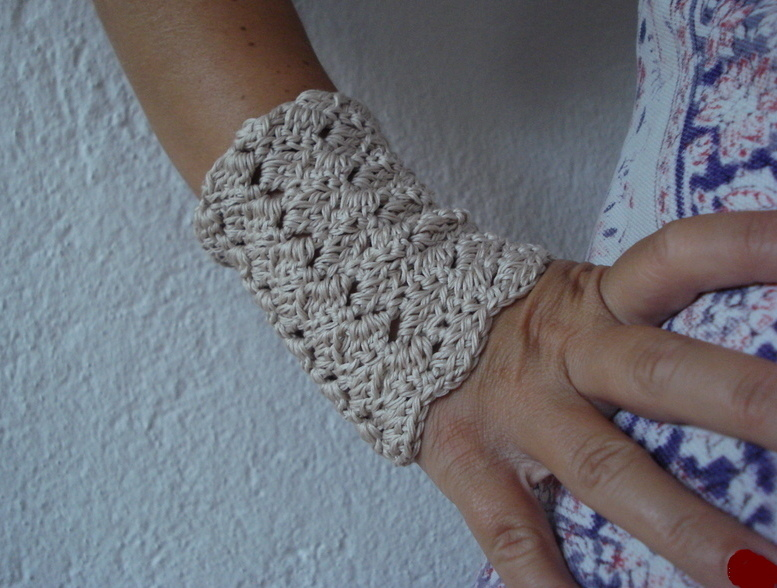
Recently the crocheting of trims and edgings increased in popularity once again. Trims are crocheted to enrich pillowcases, bed sheets and clothes. I like to use them to decorate and beautify simple tees.
Here is a little tutorial of how to crochet the basics for a trim on an actual garment, bed sheets, curtains or blankets.
What you need:
A simple tee, a crochet thread and a hook.
Step 1: Mark the neckline where you are going to make the foundation. Use a ruler for this and mark it with a washable marker .

Step 2: To make the holes use a metal poker or a thin double sided needle. For the foundation I used the blanket stitch. You may employ the embroidery needle to make this. Secure the thread on the other side.

Step 3: Now crochet a single crochet in each stitch of the foundation. I crocheted 2 sc because the foundation gap was big. Also you need to know the pattern you are going to employ later - i.e. you must know the exact number of stitches before you make the first row of single crochets.
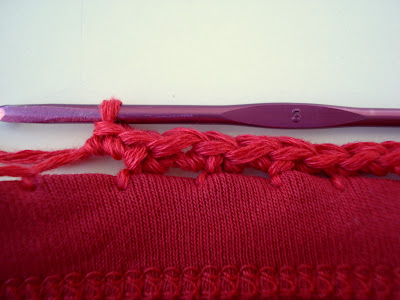
The finished rows. Now you are ready to use whatever pattern you like. For this tute I used the same crown pattern you saw here.
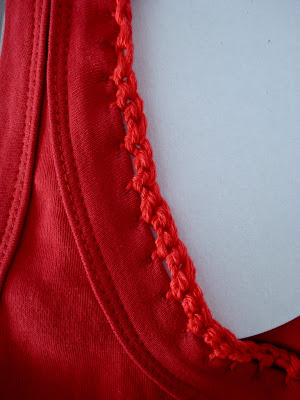

I have a simple crochet trim here
However, another much easier method which I highly recommend is that you crochet the trim first and attach it to the garment later. I have shown how to do that here
As a conclusion I would like to offer some interesting crochet related facts:
Crochet as a hobby or activity has no age limits. It sorts of transcends between ages. Young children are taught and encouraged to crochet in order to increase their fine motor skills, aid in counting and following instruction, then to boost self-confidence and introduce quiet time, to learn a family tradition and so on, while the older generations love crochet for the pleasure it brings them (think of the things your grandmas crocheted for you) and many find financial security in selling their crocheted products, then there is the social element in this – many crocheters gather together to work in groups and clubs and share their love of this craft. Further more doctors recommend crochet for those suffering of arthritis!
So grab a hook and join us!

 I made the pattern myself after having seen this somewhere around the web.

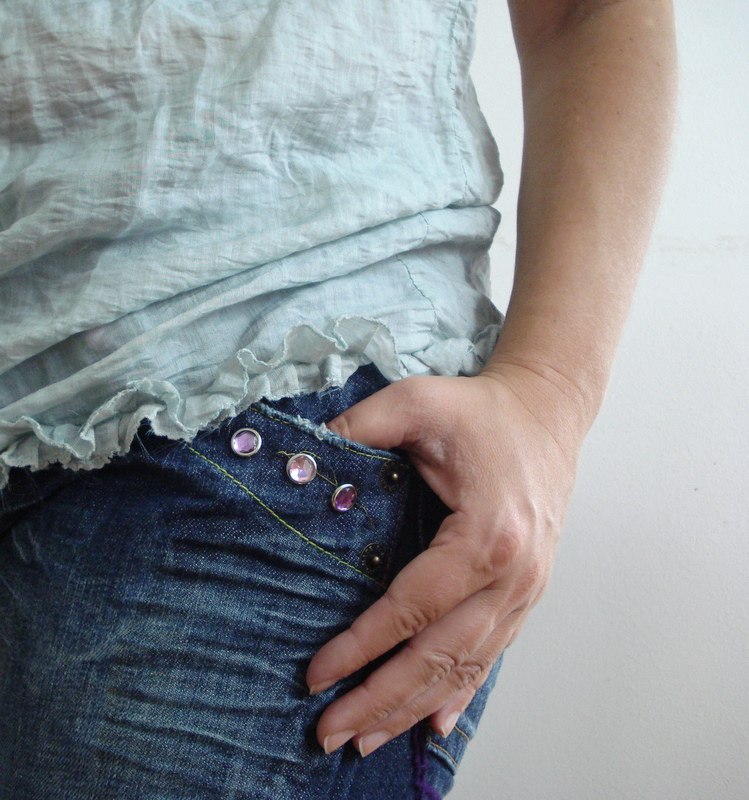 I also added ruffles at the hem. It is girly and goes nicely with both jeans and skirts.